 Brewblox
Configuration Backups
It is often useful to create backups of your settings. You may wish to migrate Brewblox to a different host, or simply be prepared for possible SD card failures.
For these scenarios, it is possible to create and load snapshots of your Brewblox settings and databases.
How to
Snapshots are both made and loaded using the brewblox-ctl commandline tool.
To create a snapshot, use the snapshot save command.
brewblox-ctl snapshot saveThis will create a new brewblox-snapshot.tar.gz archive next to your Brewblox directory. To overwrite the file without being prompted, use --force.
To load a previous snapshot, use the snapshot load command, and run brewblox-ctl update to migrate any outdated settings.
brewblox-ctl snapshot load
brewblox-ctl update
For both snapshot save and snapshot load, you can use a custom snapshot location with the --file={PATH} option.
Content
The snapshot archive includes the following:
- .env
- docker-compose.yml
- Datastore databases
- Dashboards
- Widgets
- Block names
- Builder layouts
- Exported Spark blocks
- History data
NOT included in the snapshot:
- Docker images
Transferring snapshots
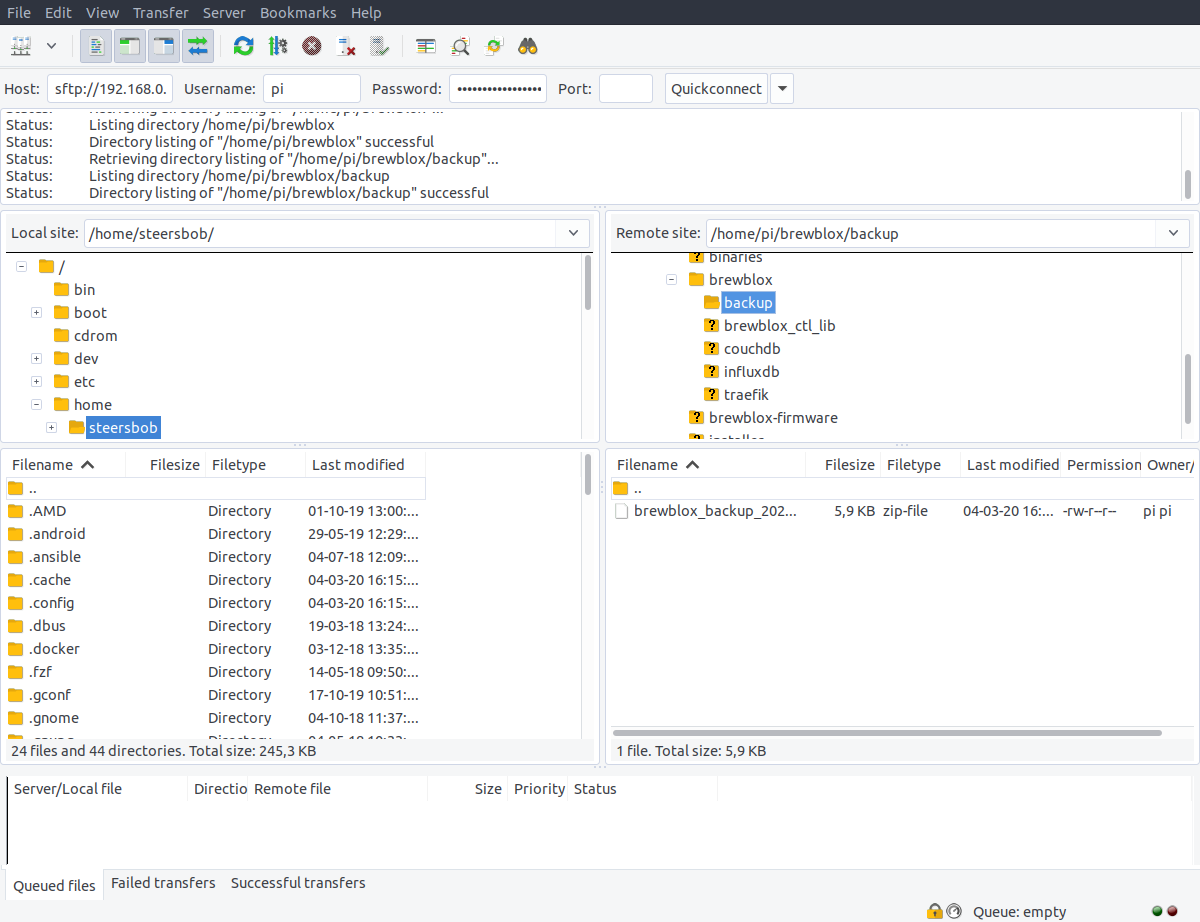
The easiest way to move files between your computer and the Pi is to use FileZilla.
The host field should be sftp://IP_ADDRESS. Username / password are the same as when logging in over SSH.
Limitations
Snapshots make a copy of your settings, not of your entire system. Snapshots cannot be used to revert to an earlier Brewblox release.
After loading an old snapshot, it is advisable to run brewblox-ctl update to migrate your configuration to the latest version.
Automatically creating snapshots
You can use cron to automatically run scripts daily/weekly/hourly.
For example, to create weekly backups:
crontab -u $USER -eChoose Nano as editor, and append the following line to the file:
@weekly (cd $HOME/brewblox; $HOME/.local/bin/brewblox-ctl snapshot save --force)Press ctrl+X to save and exit.
If you now run crontab -l, you should see the file, including the line you just added.